
Even the strongest brand identity can fail to land if your signage is confusing, generic, or simply out of date. For marketing and branding professionals in retail and commercial environments, signage is often the first physical touchpoint a customer has with your business. Get it wrong and you lose footfall, credibility, and sales before a word is spoken. Get it right and it works around the clock, reinforcing recognition and driving action. This guide walks you through every stage of the custom signage process, from clarifying your objectives to post-installation checks, so you can deliver results that are measurable, on-brand, and built to last.
Table of Contents
- Understanding your signage objectives
- Planning and preparation: requirements, compliance and materials
- Designing your custom signage: creative and technical steps
- Manufacturing, installation and post-install checks
- Why a systematic process for custom signage is your hidden marketing advantage
- Take the next step: get expert help for your custom signage project
- Frequently asked questions
Key Takeaways
| Point | Details |
|---|---|
| Clarify objectives early | Define brand goals and signage messages before starting design work. |
| Plan for compliance | Know material, safety, and legal requirements to avoid delays and extra costs. |
| Follow a stepwise approach | A systematic process makes custom signage projects more effective and less stressful. |
| Check installation thoroughly | Post-install quality checks are vital for appearance, safety, and brand alignment. |
Understanding your signage objectives
With the stakes established, the first step is clarifying exactly what you want your signage to achieve. Too many signage projects begin with a vague brief: “we need a new sign.” That approach leads to costly revisions, missed opportunities, and signage that looks fine but does nothing for your brand. Before you speak to a designer or supplier, you need a clear set of objectives.
Start by asking what specific branding or communications goal this signage must serve. Is it to attract new footfall from a busy street? Direct customers through a complex retail space? Reinforce brand values in a commercial interior? Each objective shapes every decision that follows, from size and placement to materials and lighting.
Next, identify your primary audience segments. Passers-by on a high street need bold, instantly readable messaging. Staff-facing wayfinding can carry more detail. Shoppers already inside your store respond to different visual cues than those outside. Knowing who you are talking to helps you prioritise what the sign must communicate.
Consider what response you want from the viewer. Should they stop, enter, navigate, or simply feel reassured? That desired action should be reflected in the hierarchy of information on the sign itself.
Finally, map your signage against your existing brand assets. Colours, fonts, logo usage rules, and tone of voice all need to carry through consistently. Custom signage boosts visibility and strengthens perception of professionalism, but only when it aligns with the broader brand system.
Key questions to answer before briefing your supplier:
- What is the primary objective of this sign?
- Who is the main audience, and where will they be when they see it?
- What action do you want viewers to take?
- Which brand guidelines apply, and are they up to date?
- Does this sign need to integrate with site signage design or an existing wayfinding system?
Pro Tip: Write your signage objective as a single sentence before briefing anyone. If you cannot summarise it clearly, the design process will drift. Strong shop signage design always starts with a focused brief.
Planning and preparation: requirements, compliance and materials
Once objectives are clear, it is time to get practical, ensuring your signage will last, comply, and look its best. Skipping this stage is where many projects run into expensive problems: planning refusals, material failures, or installations that cannot proceed because access was not considered.
Begin with a thorough site survey. Measure the available space accurately, note fixing points, assess power supply availability for illuminated signs, and consider access requirements for installation teams. A good supplier will often conduct this survey themselves, but having your own data speeds up the process considerably.
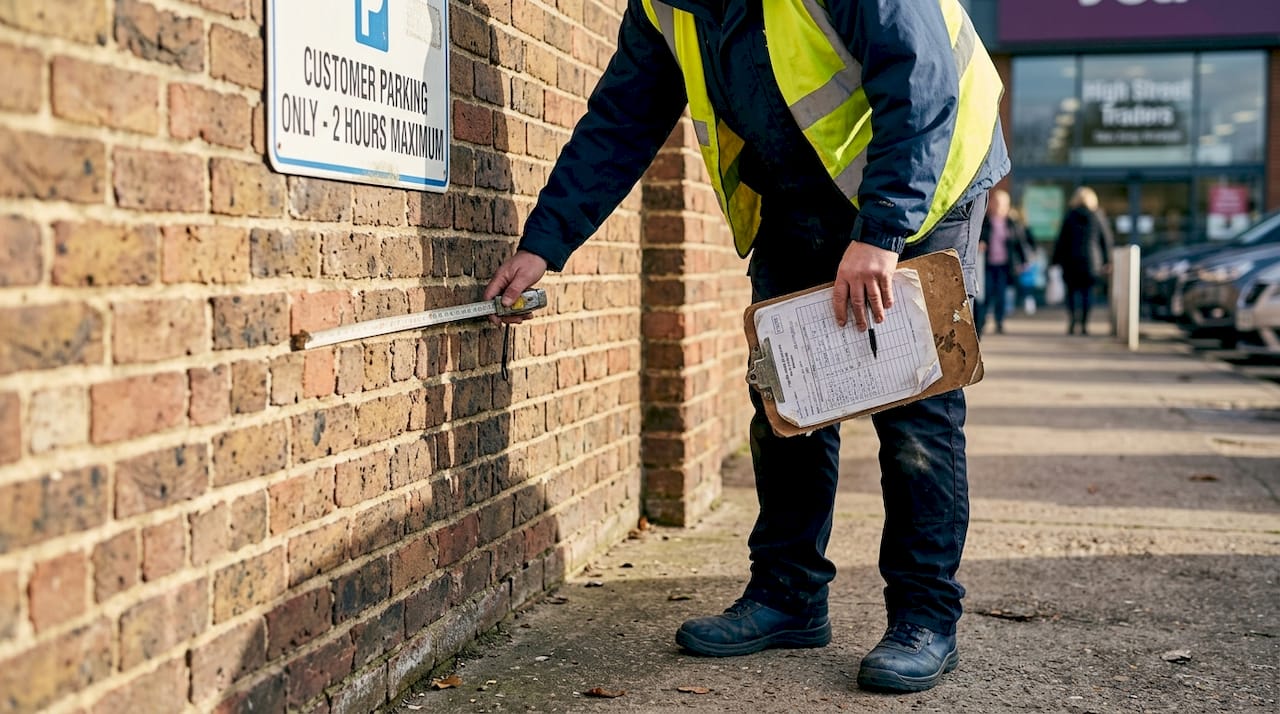
Regulatory compliance is non-negotiable. External signs, particularly illuminated fascia signs or projecting signs, frequently require advertisement consent under the Town and Country Planning (Control of Advertisements) Regulations. Listed buildings and conservation areas carry additional restrictions. Always check signage regulations UK before committing to a design or material.
Material selection has a direct impact on longevity, visibility, and cost. Use the table below as a starting reference:
| Material | Best for | Weather resistance | Typical lifespan |
|---|---|---|---|
| Aluminium composite | External fascia, site boards | Excellent | 10+ years |
| Acrylic | Illuminated signs, interior displays | Good | 5 to 8 years |
| Dibond | Retail exteriors, wayfinding | Very good | 8 to 10 years |
| Weather-resistant vinyl | Vehicle graphics, short-term outdoor | Moderate | 3 to 5 years |
| Foam PVC | Internal signage, lightweight displays | Poor outdoors | 3 to 5 years |
Choosing appropriate materials and ensuring regulatory compliance are crucial stages that protect your investment and prevent rework.
Compliance checklist before production:
- Advertisement consent obtained where required
- Structural load calculations completed for large format signs
- Electrical sign-off arranged for illuminated installations
- Access equipment and safety method statements confirmed
- Durable signage benefits reviewed against your environment and budget
Pro Tip: Always request a written confirmation of planning status from your local authority before production begins. Verbal assurances are not sufficient if a dispute arises later.
Designing your custom signage: creative and technical steps
With requirements in hand, now it is about shaping ideas into effective and compliant designs. The design stage is where branding ambition meets technical reality, and the best outcomes come from a structured, collaborative process rather than a single round of revisions.
Follow these steps to move from brief to approved artwork efficiently:
- Prepare a detailed design brief. Include your objectives, audience, brand guidelines, approved colours (with Pantone or CMYK references), logo files in vector format, and any copy that must appear on the sign.
- Supply all assets in the correct format. Raster images are rarely suitable for large-format output. Vector files ensure your logo and graphics remain sharp at any scale.
- Request initial concepts with rationale. A good designer will explain why layout, font size, and colour choices serve your objectives, not just what looks appealing.
- Review for legibility at distance. The standard rule is that 25mm of letter height provides legibility at roughly 6 metres. Test your design at scale before approving.
- Approve a pre-production proof. This should show exact dimensions, colours, and material specifications before manufacturing begins.
Effective signage design involves both creative branding and adherence to technical specifications, and cutting corners at this stage creates problems downstream.

| Design approach | Advantages | Limitations |
|---|---|---|
| Digital visualisation | Fast, low cost, easy to share | Colours may differ from print output |
| Physical mock-up | Accurate colour and scale | Slower and more expensive to produce |
| On-site test print | Best for large-format accuracy | Requires site access and time |
Colour contrast and lighting deserve particular attention. A sign that reads clearly in daylight may become illegible at dusk without adequate illumination. Consider bespoke signage strategies that account for both ambient and artificial light conditions throughout the day. The sign production process moves faster when artwork is supplied correctly from the outset, so invest time here.
Manufacturing, installation and post-install checks
Once the design is approved, it is time to make your brand vision a reality, with no surprises. Understanding what happens during manufacturing and installation helps you manage timelines, coordinate access, and ensure the finished result matches the approved design.
During production, expect the following sequence:
- Production proof issued. Your supplier sends a final digital proof for written sign-off before cutting or printing begins.
- Material preparation. Substrates are cut, routed, or formed to specification. For illuminated signs, electrical components are sourced and tested.
- Print and finish applied. Graphics are printed, laminated, or painted, then checked against the approved artwork for colour accuracy and finish quality.
- Factory quality check. Completed signs are inspected for structural integrity, surface finish, and dimensional accuracy before despatch.
A structured install and handover process prevents branding errors and ensures safety, which is why the installation sequence matters as much as production quality.
During installation, your project manager should coordinate:
- Confirming site access, scaffolding, or cherry picker requirements in advance
- Briefing the client representative on what to expect and when
- Checking fixing points and structural integrity before mounting
- Verifying electrical connections and testing illuminated elements on site
Post-installation checks are often overlooked but are essential. Walk the site at the time of day your audience will most commonly see the signage. Check visibility from key approach angles, confirm all fixings are secure, and document the finished installation with photographs for your records.
Statistic to note: businesses that implement a formal post-installation review process report significantly fewer warranty claims and branding inconsistencies within the first 12 months of a new sign production overview cycle. Snag lists should be resolved within an agreed timeframe, typically 5 to 10 working days, and a maintenance schedule should be established from day one.
Why a systematic process for custom signage is your hidden marketing advantage
Here is something that does not get said often enough: most signage underperforms not because of poor design, but because of a poor process. The brief was vague, the materials were chosen on price alone, or the installation was rushed to meet an opening date. The result is signage that exists but does not work.
We have seen it repeatedly. A business invests in strong brand identity, then treats the signage as a last-minute logistics task. The sign goes up, it looks acceptable, and nobody measures whether it actually drives footfall or reinforces the brand values it was supposed to communicate.
A disciplined, step-by-step process changes that. When objectives are defined upfront, materials are chosen for the environment, and the design is tested before production, the finished sign becomes a genuine marketing asset. It earns attention, builds recognition, and contributes to customer decisions.
Even small details matter more than most people expect. Letter height, colour contrast, the angle of a projecting sign, the brightness of LED illumination at night: each of these influences how customers perceive your brand at a subconscious level. Understanding why branded signage matters is the first step, but committing to a structured process is what separates signage that performs from signage that simply occupies space.
Take the next step: get expert help for your custom signage project
You now have a clear route map from brief to installation, but expert collaboration makes every stage faster, smoother, and more likely to deliver the brand impact you are aiming for.
At Pik Pik POW!, we specialise in bespoke custom signage for retail, commercial, and construction environments, covering everything from shopfront fascia signs to complex signage systems and digital signage solutions. Our team manages the full process: objectives, compliance, design, manufacturing, and installation. Whether you need a single impactful shopfront sign or a complete wayfinding programme across multiple sites, we bring the expertise and precision to get it right first time. Get in touch to discuss your project and find out how we can help you deliver signage that genuinely works for your brand.
Frequently asked questions
How long does the full custom signage process usually take?
Most custom signage projects for retail take two to eight weeks, depending on complexity, approvals, and manufacturing requirements. Illuminated or large-format signs with planning requirements will typically sit at the longer end of that range.
Is planning permission required for external custom signs in the UK?
Yes, many external or illuminated signs require advertisement consent; always check local regulations before committing to a design or starting production. Conservation areas and listed buildings carry additional restrictions that can affect both design and materials.
What materials are best for outdoor custom signage?
Materials such as aluminium composite, acrylic, and weather-resistant vinyl are preferred for outdoor use due to their durability, weather resistance, and visual clarity. The right choice depends on your environment, budget, and expected lifespan.
How can I tell if my signage meets accessibility requirements?
Check for high colour contrast, legible fonts at the appropriate size, and compliance with the Equality Act 2010. A specialist signage supplier can advise on accessible design standards as part of the briefing process.
How often should custom signage be checked or maintained?
Annual inspections are recommended as a minimum, with prompt attention to any damage, fading, or structural issues. Durable signage maintained regularly protects both your brand presentation and the safety of anyone near the installation.