
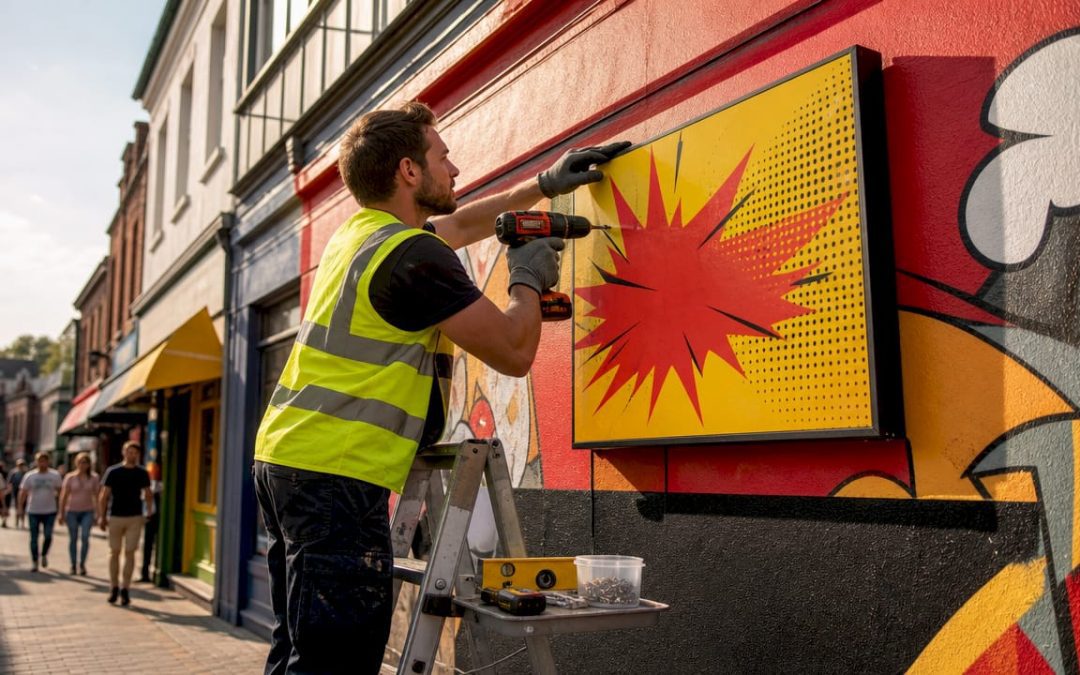
TL;DR:
- Proper outdoor sign installation requires matching hardware and tools to the surface to ensure durability and safety.
- It is essential to prepare the site carefully, confirm alignment before drilling, and secure all necessary permits to comply with regulations.
Outdoor sign installation is the process of securely mounting signage structures to exterior surfaces using appropriate tools, hardware, and techniques to achieve lasting visibility, structural integrity, and legal compliance. Done correctly, it protects your investment, reinforces your brand, and keeps your premises safe. Done poorly, it results in crooked fascia signs, failed adhesives, permit fines, and costly rework. This guide covers how to install outdoor signs properly, from choosing the right tools to navigating electrical permits, so you get it right the first time.
What essential tools and materials do you need?
The right tools determine whether your installation is clean, level, and durable. Every outdoor sign installation requires a core set of equipment regardless of sign type or surface.
Standard tools for outdoor sign mounting:
- Electric drill with masonry, wood, or metal bits matched to your surface
- Screwdriver (flathead and Phillips)
- Spirit level (minimum 60 cm for accuracy on larger signs)
- Measuring tape and pencil or chalk for marking
- Stud finder (for timber-framed walls)
- Safety goggles and gloves
Mounting hardware options by surface type:
| Surface type | Recommended hardware |
|---|---|
| Masonry or brick | Rawl plugs, masonry anchors, stainless steel bolts |
| Timber or wood | Wood screws, washers, exterior-grade fixings |
| Metal frame or cladding | Self-tapping screws, rivets, metal anchors |
| Smooth non-porous surfaces | 3M VHB tape, industrial Velcro, adhesive strips |
For adhesive-mounted signs, 3M Command strips or industrial Velcro are reliable options when the surface is clean and non-porous. Always round the corners of adhesive strips to reduce peeling over time.
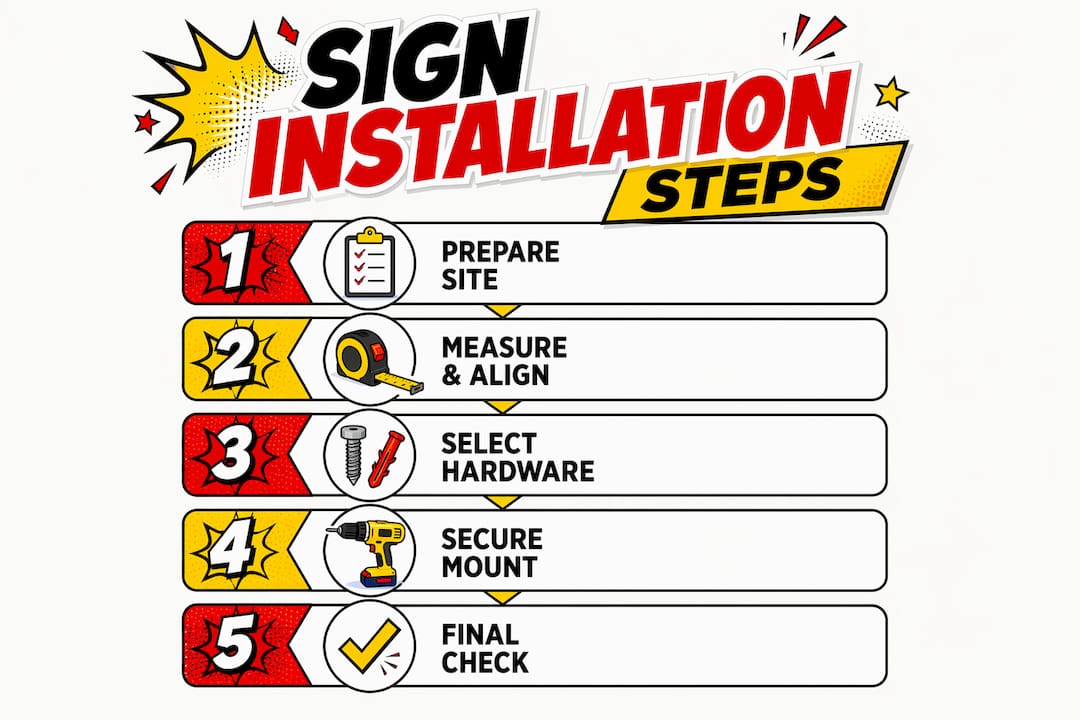
Pro Tip: Choose stainless steel or galvanised fixings for all outdoor installations. Standard steel screws rust within months in UK weather, compromising both the sign’s appearance and structural hold.
Washers are not optional. Using washers with screws or bolts distributes pressure across the sign face and prevents the fixing from pulling through under wind load. This is one of the most overlooked steps in DIY outdoor sign mounting.
How do you prepare the site and position an outdoor sign?
Site preparation is where most installations succeed or fail. Skipping this stage leads to misaligned signs, damaged surfaces, and compliance issues that require expensive corrections.
Follow these steps before you drill a single hole:
- Inspect the mounting surface. Check for cracks, damp, or structural weakness. A compromised surface cannot hold fixings safely.
- Measure and mark your placement points. Hold the sign in position and mark the fixing holes with a pencil. Use a spirit level across both marks before committing.
- Clear the area. Remove obstructions, check for concealed cables or pipes using a cable detector, and confirm the surface is dry.
- Confirm mounting height. MUTCD guidelines reference minimum mounting heights of 5 ft in rural roadside areas and 7 ft in pedestrian-heavy zones such as car parks and walkways. These figures are a reliable benchmark for UK business signage placement near public footpaths and roads.
- Set your orientation. Angling signs at approximately 93 degrees to the roadway reduces glare and maximises legibility for approaching drivers and pedestrians.
For outdoor signage best practices on visibility and engagement, eye-level positioning between 5 ft and 7 ft from the ground covers the majority of pedestrian sightlines. Signs mounted too high lose impact; signs mounted too low create trip hazards and are easily obscured.
Pro Tip: Accurate alignment before drilling prevents the most common complaint in sign installation: crooked signage. Measuring twice and confirming level before you drill saves hours of remedial work.

What are the step-by-step installation methods for common sign types?
Different sign types require different approaches. The three most common categories for business premises are metal signs, adhesive-mounted signs, and illuminated signs.
Installing metal signs
- Hold the sign flat against the surface at the intended position.
- Mark each fixing point through the pre-drilled holes using a pencil.
- Remove the sign and drill pilot holes matched to your anchor size.
- Insert rawl plugs or anchors into the holes.
- Reposition the sign, insert bolts or screws through washers, and tighten firmly without over-torquing.
- Check alignment with a spirit level before the final tighten.
Marking mounting points with the sign held in place is the correct sequence. Measuring from a drawing and then drilling without the sign present introduces cumulative error.
Installing adhesive-mounted signs
- Clean the surface thoroughly with isopropyl alcohol and allow it to dry completely.
- Apply 3M VHB tape or industrial Velcro strips to the back of the sign, rounding all corners.
- Press the sign firmly against the surface for at least 30 seconds with even pressure.
- Avoid any vibration for 24 hours after application to allow the adhesive to cure fully.
Installing illuminated signs
Illuminated signs require structural mounting plus electrical connection. The structural steps mirror those for metal signs. The electrical work is a separate process with its own requirements.
- Complete the structural mount first and confirm it is stable.
- Route cables through conduit before connecting to the power supply.
- Confirm the wiring meets outdoor wet location standards and includes GFCI protection.
- Install an accessible disconnect switch near the sign.
Illuminated signs require specific electrical permits covering service connection, wiring compliance, and GFCI protection. An electrical sub-permit is often required on top of the master sign permit. NEC Article 600 classifies electric signs and mandates qualified inspection before the sign goes live.
Never connect an illuminated sign to the mains supply without a qualified electrician confirming compliance. Electrical faults in outdoor wet environments are a serious safety risk and will void your insurance.
Comparison of installation approaches:
| Sign type | Key steps | Permit required? | Specialist needed? |
|---|---|---|---|
| Metal (drilled) | Mark, drill, anchor, level | Usually no | No |
| Adhesive-mounted | Clean, apply, cure 24 hrs | Usually no | No |
| Illuminated | Structural mount + electrical | Yes | Yes (electrician) |
Pro Tip: For illuminated signs, request a copy of the electrical inspection certificate and store it with your planning documents. You will need it if you ever sell the property or face a council inspection.
How can you avoid common installation mistakes?
Most installation failures are preventable. The errors below account for the majority of sign replacements, council complaints, and insurance claims on commercial premises.
- Uneven mounting. Skipping the spirit level check is the single most common cause of crooked signage. Always confirm level before the final fixing.
- Wrong hardware for the surface. Using wood screws in masonry or standard steel fixings outdoors causes failure within months. Match hardware to surface type every time.
- Neglecting weatherproofing. Gaps around fixings allow water ingress, which accelerates corrosion and can damage the wall behind the sign. Use exterior-grade sealant around fixing points on masonry surfaces.
- Ignoring permits. Failure to comply with permitting regulations can result in fines, removal orders, and delayed business openings. Local councils in the UK require advertisement consent for most externally illuminated signs and many non-illuminated fascia signs. Check with your local planning authority before installation.
- Moving adhesive signs too soon. Adhesive bonds need the full 24-hour cure period. Adjusting or testing the sign before this window closes weakens the bond permanently.
For a detailed walkthrough of UK-specific requirements, the signage installation guide for UK businesses covers planning consent, structural considerations, and surface-specific advice in one place.
Pro Tip: Photograph your installed sign from multiple angles, including day and night shots, immediately after installation. These images serve as compliance evidence, insurance documentation, and a baseline for future condition checks.
Code and permit compliance is fundamental to any outdoor signage project. It affects both your installation schedule and your total cost. Leaving permits until after installation is not a shortcut. It is a liability.
Key takeaways
Correct outdoor sign installation depends on matching your tools and hardware to the surface, confirming alignment before drilling, and securing all necessary permits before the work begins.
| Point | Details |
|---|---|
| Match hardware to surface | Use masonry anchors for brick, stainless fixings for metal, and 3M VHB tape for smooth non-porous surfaces. |
| Confirm height and orientation | Mount signs at 5–7 ft for pedestrian zones and angle at approximately 93 degrees to reduce glare. |
| Permits are non-negotiable | Illuminated signs require electrical sub-permits; most fascia signs need advertisement consent from your local council. |
| Adhesive signs need 24 hours | Avoid vibration or adjustment for a full 24 hours after applying adhesive-mounted signs to achieve a secure bond. |
| Document everything | Photograph the finished installation from multiple angles for compliance records and future reference. |
What we have learned from years of outdoor sign projects
The most expensive mistake we see businesses make is treating installation as an afterthought. A sign gets designed, approved, and manufactured. Then someone realises the wall is hollow, the surface is damp, or the council requires advertisement consent that was never applied for. The whole project stalls.
Preparation is not a preliminary step. It is the job. When we work on shopfront and architectural signage projects, the site survey takes as long as the installation itself. We check surface conditions, confirm fixing depths, identify cable routes for illuminated signs, and verify planning requirements before a single tool is unpacked.
The other pattern we see regularly is businesses underestimating electrical compliance for illuminated signs. The structural mount goes up cleanly, and then the electrical connection is rushed or handed to someone unqualified. That is where projects go wrong and where safety risks appear. Always use a qualified electrician for any sign connected to the mains, and always get the inspection certificate.
Our honest advice: if your sign is large, illuminated, or going on a listed building or conservation area, bring in a professional. The cost of getting it wrong, in fines, removal, and reinstallation, far exceeds the cost of doing it properly the first time.
— Pikpikpow
Outdoor signage solutions from Pikpikpow
Getting the installation right starts with having the right sign for the job.

Pikpikpow designs and manufactures bespoke outdoor signage for retail, commercial, and construction clients across the UK. From fascia signs and architectural lettering to fully illuminated shopfront displays, every sign is built for durability and designed for impact. The team also supports clients through the compliance process, helping to identify permit requirements before manufacture begins. If you are ready to move forward, explore the full range of signage systems or get a tailored quote through the shop signs page.
FAQ
What tools do I need to mount outdoor signs?
A drill, spirit level, measuring tape, and surface-matched hardware are the core requirements. Add a stud finder for timber-framed walls and a cable detector before drilling into any wall.
Do I need planning permission to install an outdoor sign?
Most externally illuminated signs and many fascia signs in the UK require advertisement consent from your local planning authority. Check before installation to avoid fines or removal orders.
How high should an outdoor sign be mounted?
Mount signs at a minimum of 5 ft in rural areas and 7 ft in pedestrian-heavy zones such as car parks and walkways, following MUTCD height benchmarks widely referenced in professional installation practice.
How long do adhesive-mounted signs take to bond securely?
Adhesive-mounted signs need a full 24 hours without vibration or adjustment to cure properly. Moving or testing the sign before this period weakens the bond permanently.
When do I need an electrician for sign installation?
Any illuminated sign connected to the mains requires a qualified electrician. Electrical sub-permits, GFCI protection, and a compliance inspection are all mandatory under NEC Article 600 and equivalent UK electrical standards.